Monday, February 23, 2015

Banners...More Than Just Party Decor!

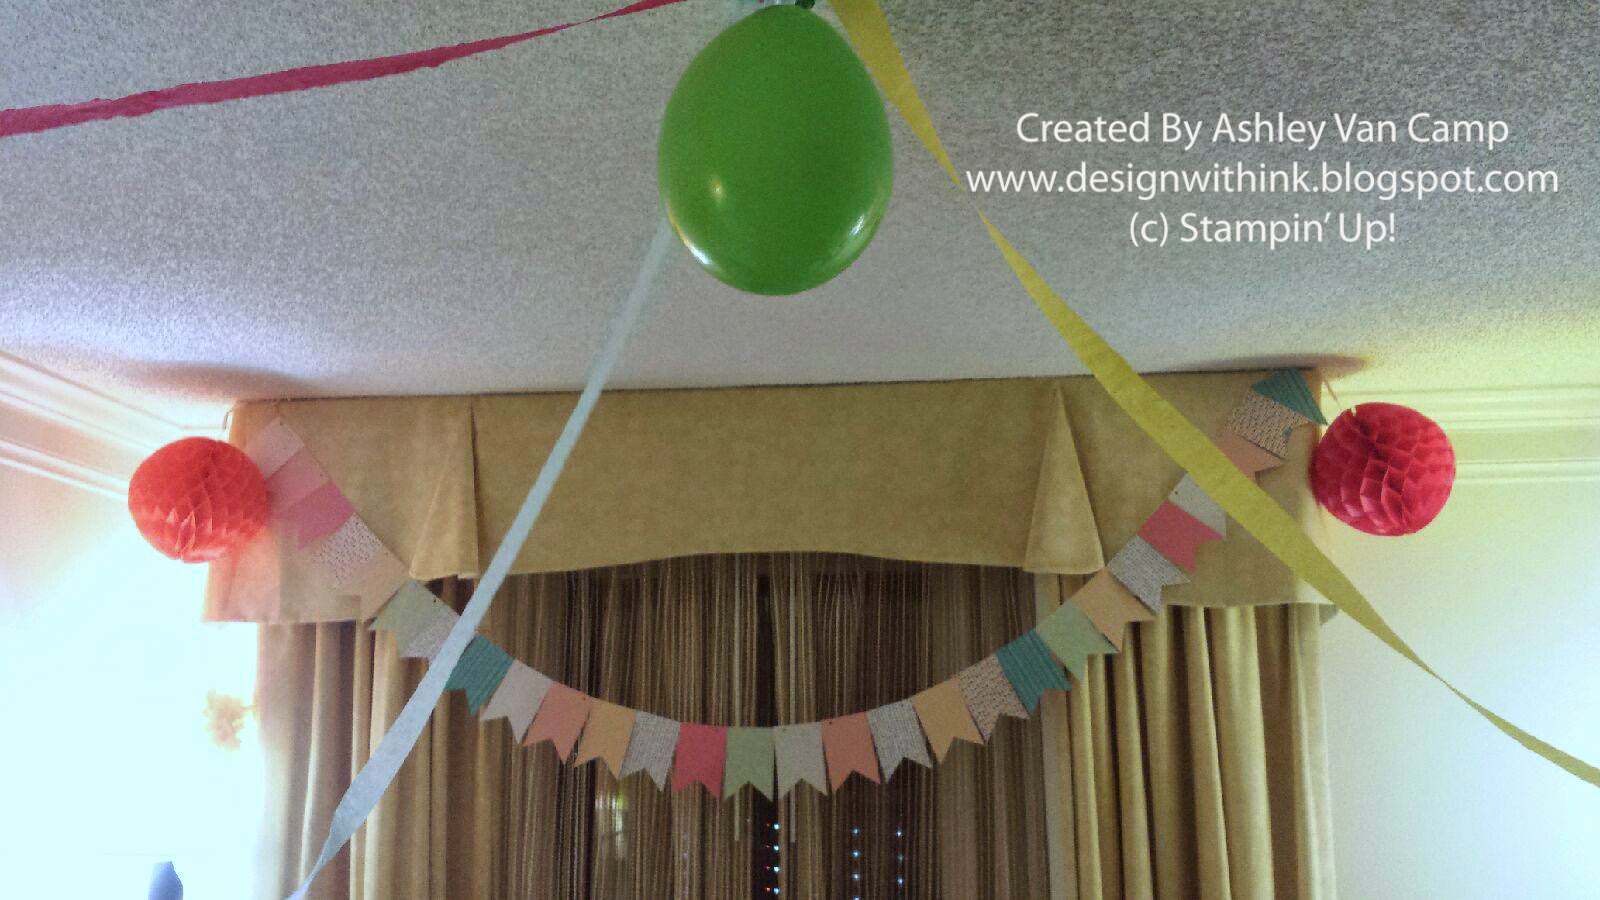
If you follow my blog, it's no secret that I LOVE Banners.  I make quite a few of them, for lots of different occasions and holidays.  And I LOVE the Stampin' Up! banner kits.  There are actually 3 of them...a chalkboard one, a canvas one, and this Kraft pennant one.  I LOVE them all and have found MANY uses for all of them.  They make things SO easy!  Today I am sharing a Home Decor piece I made with a few of the pennants in the "Celebrations Basics Kit."  (SUPER BONUS:  This kit is a Weekly Deal this week!  Head to my website to order one (or more!!) www.ashleyvancamp.stampinup.net. This was actually the make and take I put together for the big Convention party my friend and I threw this summer.  I posted about it HERE.  Off with the chatting and on to the showing...


So, here is the project!  It's a fun one.  Let me explain just a bit...there are three pennants: a birthday, a Christmas, and an everyday pennant.  (Would loved to have make more...but we only had so much time to make a project at the party.  :-) )  All you do is just frame a piece of Designer Series Paper in a 8x10 frame and then hot glue a mini clothespin to the frame. Then you easily switch our your different occasion pennants depending on what you need a the time.  Genius, right?!  :)  Here is a pic of the frame...

And then the other pennants...


Here is another genius move (if I do say so myself)... Just adhered a cello bag to the back of the frame to hold the other pennants when not in use...


I LOVE this project!  And finally sharing this reminds me I want to make more pennants for other holidays and occasions!  So stay tuned for more!  :-)

Hope you enjoy!  Let me know if you have any other questions! designwithink@gmail.com

Wednesday, February 18, 2015

More Project Life...Hello Vacation!

A little bit ago I shared a traditional scrapbook page made with Project Life products.  Well here is another layout for you...


I LOVE the Project Life collection!  It is so much fun (and easy!) to make scrapbook pages, cards, mini albums, etc, etc, etc.  This card collection (with accessory pack) is called "Let's Get Away" and is in the Occasions catalog.  

Here is each page individually...


Hope you enjoy!  Let me know if you have any questions! designwithink@gmail.com 

Monday, February 16, 2015

I Do...Love You! February Club Project...

I shared the card we made this month at club HERE.  Now it's time to show you the project we made!  I LOVE using my stamping supplies in my home decor/holiday decorating.  Wanted to spread a little of that love to my club members.  :)  So here is the project...


So fun, right?!  I think the most fun thing about this banner is the middle pennant.  After it was stamped, this is what it looked like...


Just a piece of watercolor cardstock embossed with the "I Do Love You" greeting and Whisper White embossing powder.  Not too exciting.  But when you add a little watercoloring (like THIS CARD has)...it is a little more exciting...


I'm in love with this technique.  :-) SO FUN! (Just use a little re-inker and Aqua Painters to paint on the color) Here are pics of the pennants up-close...


Hope you enjoy this project!  Thanks so much for visiting!!  Let me know if you have any questions! designwithink@gmail.com.  

Thursday, February 12, 2015

Irresistible February Club Card...

I LOVE the Irresistibly Yours Designer Series Paper that is available as a FREE Sale-A-Bration item.  (HERE is another post I did with this paper.)  Our club card uses this fun paper in this Birthday card...


We colored the paper with Blendabilities.  This card also uses the Birthday Bash Designer Series Paper that is in the Occasions catalog.  I LOVE the color combo...a little Calypso Coral, Bermuda Bay, Crushed Curry, Night of Navy...never a combo I probably would of put together but I love it!  And that Pompom trim...can you even stand that?!  LOVE that stuff!  Here is a pic...


We also used the new fun Chalk inks and Chalkboard paper.  Along with the Big Day stamp set, that is also a Sale-A-Bration item this year!  LOVE!


Here is another pic...


That is the chalk ink again...this time on Whisper White paper.  LOVE this look also!  

Hope you enjoy this card!  Thanks for visiting!!  Let me know if you have any questions! designwithink@gmail.com 

Tuesday, February 10, 2015

Project Life Meets Traditional Scrapbooking...

I have been working on some scrapbook layouts for a someone.  They needed some travel pages for their book.  Well...when the Occasions catalog came out and I saw the "Let's Get Away" Project Life by Stampin' Up! collection...I was excited!  I thought these would of been perfect!  I could of just made some layouts "Project Life" style...but I decided to turn these quick and adorable cards into traditional scrapbook layouts.  Have you tried Project Life yet?!  SO MUCH FUN!  So quick and easy!  (Email me if you have any questions...designwithink@gmail.com)  Anyway...here is one of the layouts I made...


I just combined some of the fun cards with some coordinating cardstock pieces cut to similar sizes as the cards.  SO quick and so easy!  

Here is a pic of each page...


Fun, right?!  I also used the Accessory pack just to add a few yummy touches.  

BUT...Project Life isn't just for scrapbooking!  Here is a quick tag I made using a Project Life card from the Everyday Adventure collection...


SO easy, fun, and cute!


If you have never used Project Life...you really should give it a shot!  They are a GREAT value! A card collection gives you 100 cards (a few different sizes) for just $15.95.  You can make tags, do memory keeping, make cards, gifts, banners, etc, etc.  They are so much fun!  I have a few more traditional scrapbook pages to share with you this week using more Project Life cards.  So stay tuned!

Thanks for visiting!  I hope you enjoy these projects and it inspires you to be creative today in some way!  Let me know if you have any questions: designwithink@gmail.com.  

Monday, February 9, 2015

Leadership Swap Card...

There is always swapping at Stampin' Up! events!  It's part of the fun of these events.  (What is a swap?!  It's where you make multiples of the same card and "swap" with other people that have done the same thing.  So you get lots of different card ideas!) Today I am sharing the card I made to swap!  


I did something different than my "norm" for this card.  And I LOVE it!!!  I embossed the "so very kind of you" sentiment on watercolor paper with Whisper White embossing powder.  (Again...I used the "Big On You" stamp set...like the project I shared HERE.  LOVE these greetings!!)  Then I just took my Aquapainter and some different color re-inkers and did a bit of water coloring.  It was quick and easy...wasn't trying to be exact or anything.  The colors I used were:  Bermuda Bay, Daffodil Delight, and Calypso Coral.  Each card looked a little different, and it really was a fun process.  (You just get ink in one of the colors, swoosh it on over the sentiment until it is how you want it for that color, scribble the Aquapainter over a paper towel to clean off the color, then repeat with the other two colors.  Then just dab the paper towel over the embossing to remove any ink that got on it.)

Here are a few more close-up pictures...


Give this technique a try!  It's so much fun!  Hope you enjoy this card!  Thanks for visiting!  If you have any other questions just drop me an email: designwithink@gmail.com.  

Thursday, February 5, 2015

I Do Love You...

I LOVE the "Big On You" stamp set in the Occasions catalog.  It has 4 big sentiments...and they rock my world a bit. :-) Here are the sentiments offered in the set...

So fun, right?!  And these are seriously large sentiments.  They could definitely be the star of the show on any project.

I used a few of the sayings for some things I did for this past Stampin' Up! Leadership trip.  The project I am showing you today was a little Valentine decor I made with the "I Do Love You" saying. I made these for a few good friends I knew I was seeing there...


With Valentine's coming up...I thought it would be perfect.  And they were also so quick and easy to make.  I just took a piece of the "Stacked With Love" paper stack paper.  The frame is 4"x6" so I just cut the paper to fit.  Then just embossed the "I Do Love You" sentiment in the middle of the paper.  Add the paper to the frame and embellish the frame a touch.  SO EASY and quick and oh so cute!  Can I just say...I LOVE making home decor with my stamping supplies!  It's easier than you may think.  :)

Here are a few more up-close pics of the details...


I really hope you enjoy this project!  I had a lot of fun making it.  :-)  Thanks so much for visiting!  Let me know if you have any questions or need any supplies to make it!  designwithink@gmail.com

Tuesday, February 3, 2015

Birthday Bash...Stampin' Up! Style...

So last week I was in Orlando for Stampin' Up! Leadership Convention.  Fun does not even begin to describe what it was.  :-)  It was a complete blast and it's been hard this week to adjust back into "life".  I will have to do a full post of my trip so you can experience some of it with me.  :-)  I am sharing just a piece today.  If you follow me on FaceBook...you saw a small piece of what happened.  (If you don't follow me...go like my page...Design With Ink...so you can stay up to date on what I post! :-) )

While we were there, it was my friend's (and upline and also a Stampin' Up! employee) birthday.  So before we left, I made and bought some decor so we could surprise her for her birthday.  It was kinda tricky...but we sneakily got access to her room when I knew she was going to be gone.  I was going to be with her, so had some major help in getting this accomplished!  Look at what she found when she came home from our night out...


Love how bright and festive!  I made the banner using the Chalkboard Banner kit that is in the annual catalog.  I just took the colors from that kit for all the fun! 

Here is a better pic of the banner I made (and the gifts on the bed are from lots of people that love her!)...


In the kit you get quite a few Chalkboard pieces (big thick cardboard like Chalkboard pieces) and then lots of patterned paper banners.  I used a few for the "happy birthday" banner and then sewed the rest together for some fun garland. (P.S...the kit even comes with those fun tissue puffs on the end of the banner!)...


All the banner pieces I used are from one kit!  Awesome kit, I tell you!  :-)  Here is the birthday girl...


Brandi (the birthday girl) is an amazing gal, and she totally appreciates things like this.  So it's so much fun to do it for her!  You will notice a bit of pretty on the top of her head.  Well, my dear friend Heather made that for her to wear.  Look how cute!!!...


Brandi was actually doing a presentation (again...she is employed by Stampin' Up! home office) on her birthday...so we worked some magic and got this crown delivered to her on stage during her presentation. Talk about FUN!!! 

A few last shots of the birthday girl...


Hope you enjoyed this!  Thanks for visiting!  Have LOTS to share so stay tuned!!

Monday, February 2, 2015

Project Life...Not Just for Memory Keeping...

I needed a quick birthday card the other day for a 12-year old boy.  I didn't happen to have one on hand, and just had a few minutes. So I grabbed a Project Life card, and turned it into card in no time at all.  It's a simple card, but that's perfect for a 12-year old...right?!  ;-)


Project Supplies (all Stampin' Up!)

Project Colors: Coastal Cabana, Bermuda Bay, Daffodil Delight, Real Red, Basic Gray, Pear Pizzazz 
Stamp Set:  Big News
Accessories: Everyday Adventure Project Life Card Collection, Small Oval Punch, Owl Builder Punch, Whisper White Baker's Twine, Hexagon Embossing Folder, Brights Candy Dots, Epic Day Washi Tape, White Gel Pen

Here is a close-up of the balloons...


How fun are they?!  The actual balloon is just made with the Small Oval punch.   The bottom part of the balloon is done with the foot part of the Owl Builder Punch.  Easy, peasy!  Then the "it's your birthday" is just stamped onto the Project Life card and secured with Washi Tape.  (I also stamped the "enjoy the fuss." greeting from the "Big News" stamp set on the inside but forget to get a picture.)

Here is another up-close view, this time of the candy dots...


Such a quick and easy card! I LOVE the Project Life card packs...such an incredible value and can be used for SO MUCH MORE than just memory keeping!

Thanks for visiting!  I hope you enjoy!

Technique Tuesday With Custom Striped Accents!

One of my assignments on Stampin' Up!'s Artisan Design Team is to do share some fun techniques.  My first one was shared at the end ...